It’s been just over a month since Toronto went on lockdown due to COVID-19 so I’ve been keeping myself busy with projects including a list of recipes that I’ve been wanting to test out. I bought a Joseph Joseph helix potato ricer over a month ago to make gnocchi. I have only made gnocchi once before without a ricer (I used a regular potato masher) and it was a HUGE fail! The gnocchi were mushy and lumpy.
Ricers are pretty awkward things to store so when I saw the simple design of the Joseph Joseph helix potato ricer I figured it would easily fit in one of my kitchen drawers (which it does).

The Joseph Joseph helix potato ricer 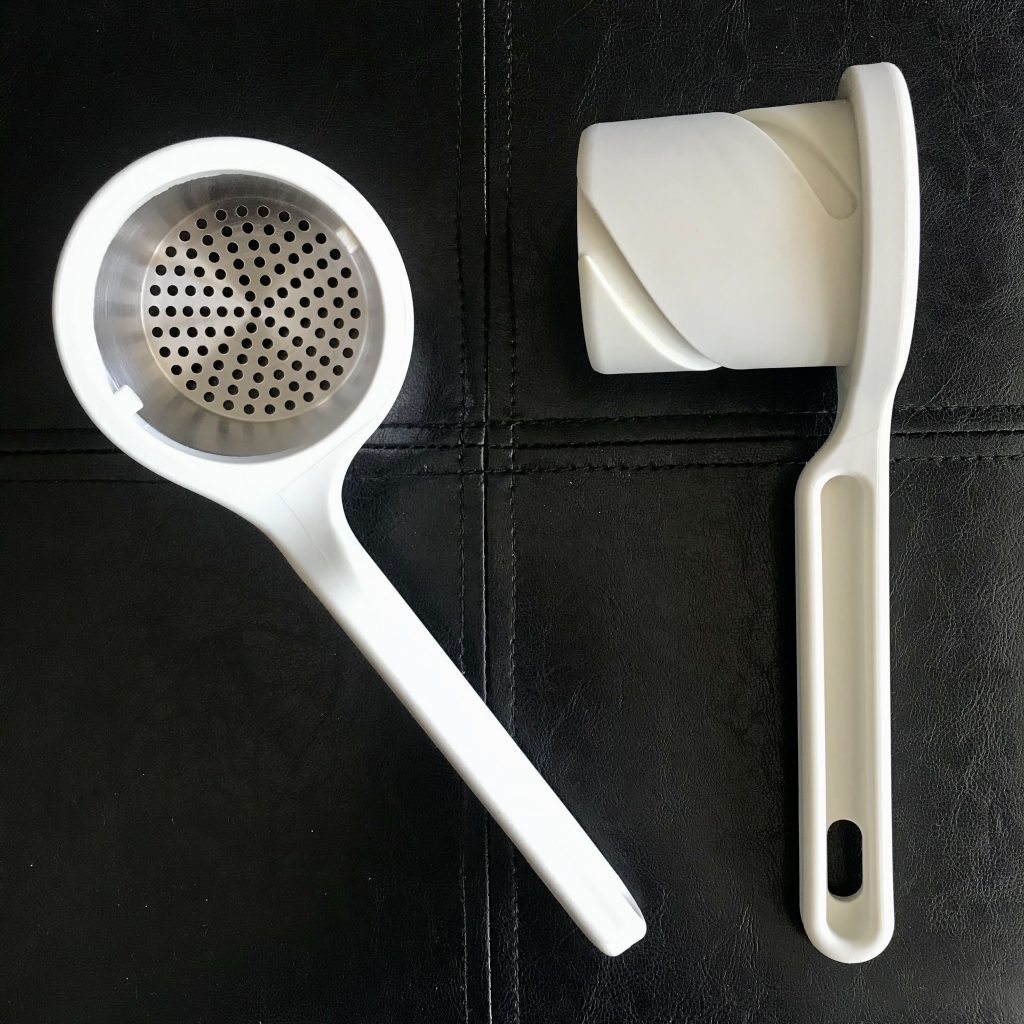
Easy to clean and take apart 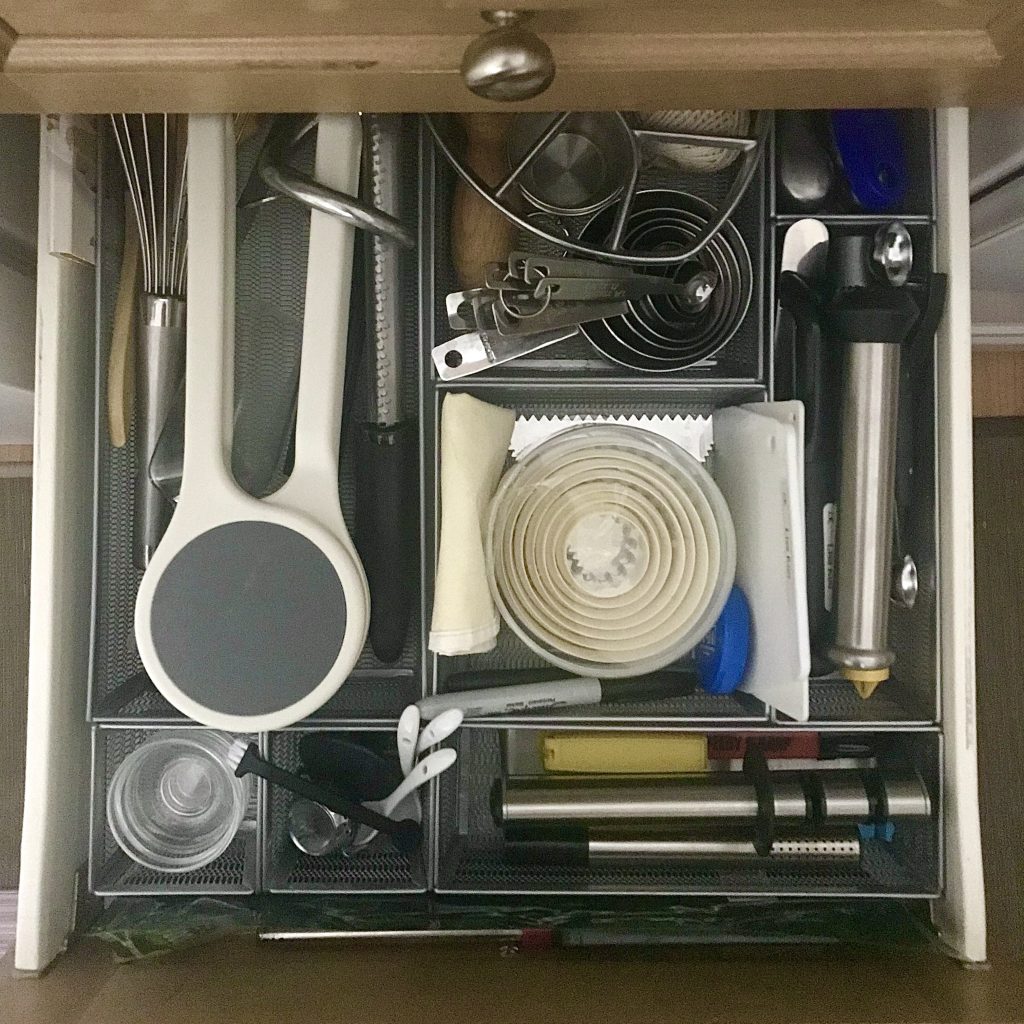
Stores nicely
I used a gnocchi recipe from Project Chef – an amazing children’s cooking program in Vancouver, BC where the recipes are easy to prepare and tasty.
Gnocchi – recipe from Project Chef
Yield: 4 – 5 servings
Preparation Time: 15 minutes
Cooking Time: About 1 hour and 35 minutes
Ingredients
- 1 ½ pounds Russet potatoes (about 2 large potatoes)
- 1 to 1 ½ cups all purpose flour, plus extra for work surface
- 1 large egg yolk, beaten
- 1 ½ tsp. salt
- Parmesan cheese, for serving
Directions
- Place the potatoes (do not peel) in a large pot and cover with cold water. Cover the pot and bring to a simmer. Cook until the potatoes are soft and tender when pierced with a knife, about 30 – 35 minutes. The knife should easily slide in and out of the potato.
- When the potatoes are cooked, let cool until they can be handled but are still warm. Peel the potatoes and mash them using a food mill, ricer or potato masher. Place in a large bowl.
- Make a well in the centre of the potatoes and sprinkle all over with 1 cup of the flour. Add the egg yolk and salt to the well and using a fork, mix together until blended.
- Scrape the dough onto a floured work surface. Knead briefly, adding only enough flour so that the gnocchi will hold its shape when cooked but not so much that they become heavy. The dough should be just a little sticky.
- Clean your work surface and wash and dry your hands. Prepare a baking sheet by dusting with flour. Dust your hands with flour.
- Cut the dough into 8 pieces and loosely cover with plastic wrap. Roll one piece of dough into a long rope, about 2 cm wide. Cut the rope into 3 cm long pieces.
- Repeat with the other pieces of dough.
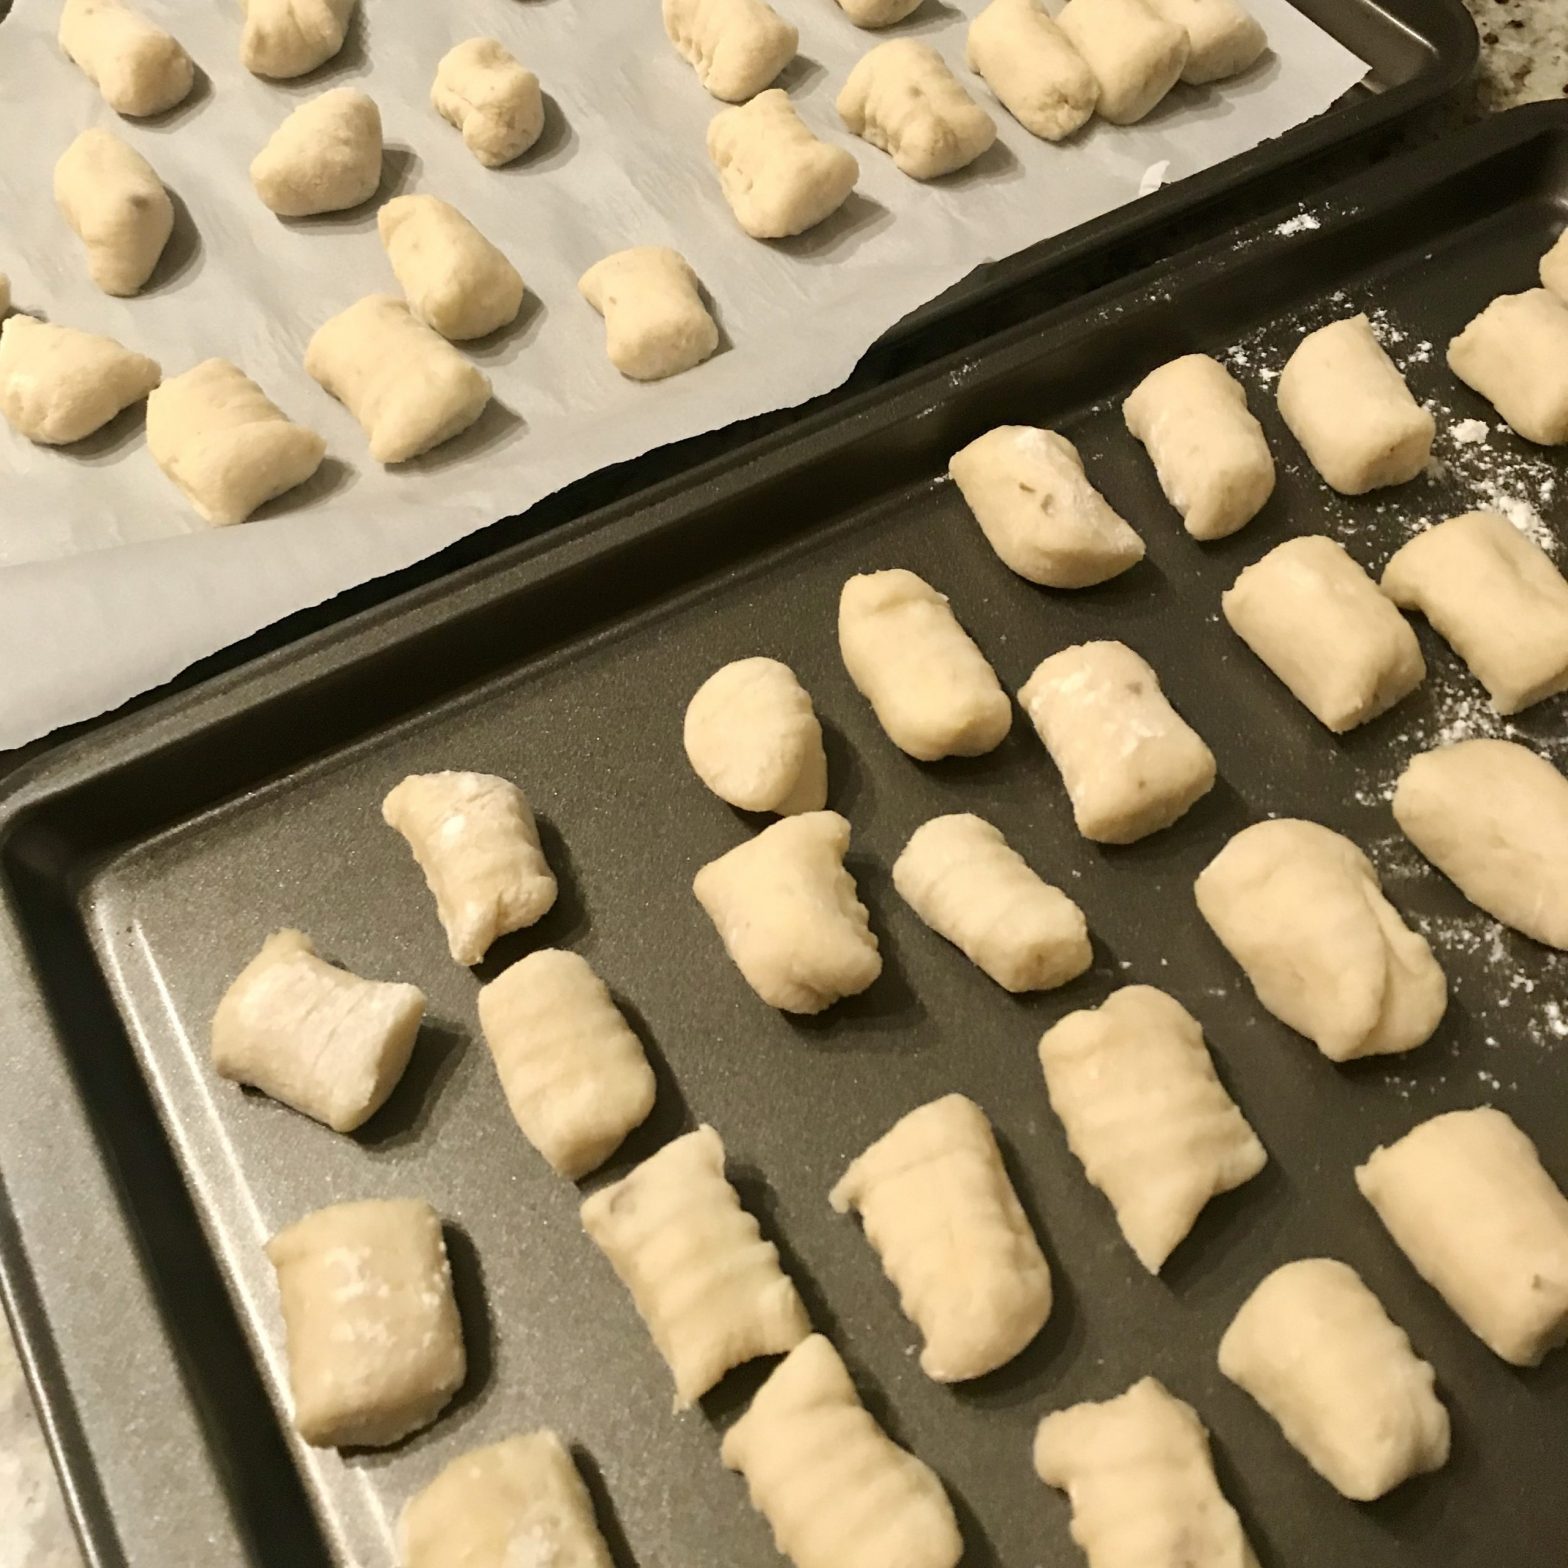
- To shape the gnocchi, hold a fork in one hand with the tines pointed down. With the thumb of the other hand, roll each piece of dough over the back of the fork, pressing lightly to make ridges on one side and a dent from your finger on the other. Place the gnocchi on to the prepared pan without touching each other. Flour your thumb and dip the fork in flour when necessary. (The gnocchi-shaping may also be done using a wooden gnocchi board using the same technique. You may also just cut the dough into little pillows.)
- Refrigerate until ready to cook.
- To cook the gnocchi, bring a large pot of water to boil. Add 2 tablespoons of salt.
- Before cooking the gnocchi, have the sauce heated and ready to serve. Ladle a thin layer of the hot sauce into a warm serving bowl.
- Turn the heat under the boiling water down so that the water boils gently. Carefully drop the gnocchi into the water. Cook for 30 seconds after the gnocchi rises to the surface (about 2 minutes total). Skim the gnocchi from the pot with a slotted spoon, draining the pieces well by tapping the spoon on a paper towel or clean tea towel. Transfer to the serving bowl.
- Toss the gnocchi with the sauce then ladle more sauce on top. Sprinkle with Parmesan cheese. Serve right away.


The gnocchi were chewy, soft and didn’t fall apart. I was super pleased. The ricer was key for making the dough smooth and free of lumps. Definitely a good purchase!
The one negative aspect with the ricer is that it’s not as ergonomic as other potato ricers (which press from the top down) or food mills where you rotate a handle in a circular motion. I also needed to cut the potatoes into smaller pieces in order to be able to fit them into the ricer. However, it works well for small batches and the design makes it easy to clean. Plus it’s compact enough to store.

I didn’t have any tomato sauce available so I made a simple sauce by adding some minced garlic to a pan with butter and olive oil. I tossed the gnocchi in a pan and then sprinkled some Parmesan cheese and parsley on top.
The recipe makes enough gnocchi for 4 people so I froze half of them on a baking sheet until they were hard and put them in a freezer bag to enjoy another time. I have a feeling that frozen homemade gnocchi is way better than anything you can purchase in stores but I’ll have to do a taste test to verify it.
Have you every made homemade gnocchi? Or is there a store bought brand that you prefer? Let me know in the comments below.