
This summer I joined a cycling club as a way to help train for triathlons. The club I ride with does rides that range anywhere from 50-140km so it’s definitely endurance riding.
As mentioned in a previous post that I wrote about sports nutrition, nutrition plays a key role when training for endurance sports such as marathons, half marathons, long distance cycling and triathlons. You need to fuel throughout your workout and make sure you are adequately hydrated.
I have been quite happy using sports gels during my workouts because they are easy to carry (they fit in the pockets of my cycling jersey) and are fast acting. They can also be taken really quickly which is important when I’m on the road (usually the only time I have to fuel up is while waiting for the traffic light to change). When riding with a group (where there is a lot of pressure to keep up) having something that is quick and convenient is key! Especially if you’re a rookie like me that is just working hard not to get dropped.
However, going on these long training rides each weekend started to make quite a dent on my wallet. Sports gels and energy bars are not cheap (they average at around $2 to 3/each) and the fact that I usually have 1 to 2 on each training ride and ride 2 to 3x/week over the course of the spring and summer – it started to add up.
Several of the women I ride with would take out their own homemade energy bars that they made from a popular vegan Toronto based blog called “Oh She Glows”. They said they would make a batch every month, freeze them and just take them out whenever they needed them. They preferred to make it themselves because they knew exactly what was in them
I’ve always been a person of convenience (or perhaps it’s just that I’ve never been THAT organized to actually make my own energy bars) but the fact that several of the women in my cycling club were using this recipe made me take notice. And if it would help me save money in the long run (money that I could put towards fancier cycling gear perhaps) I am all for it.
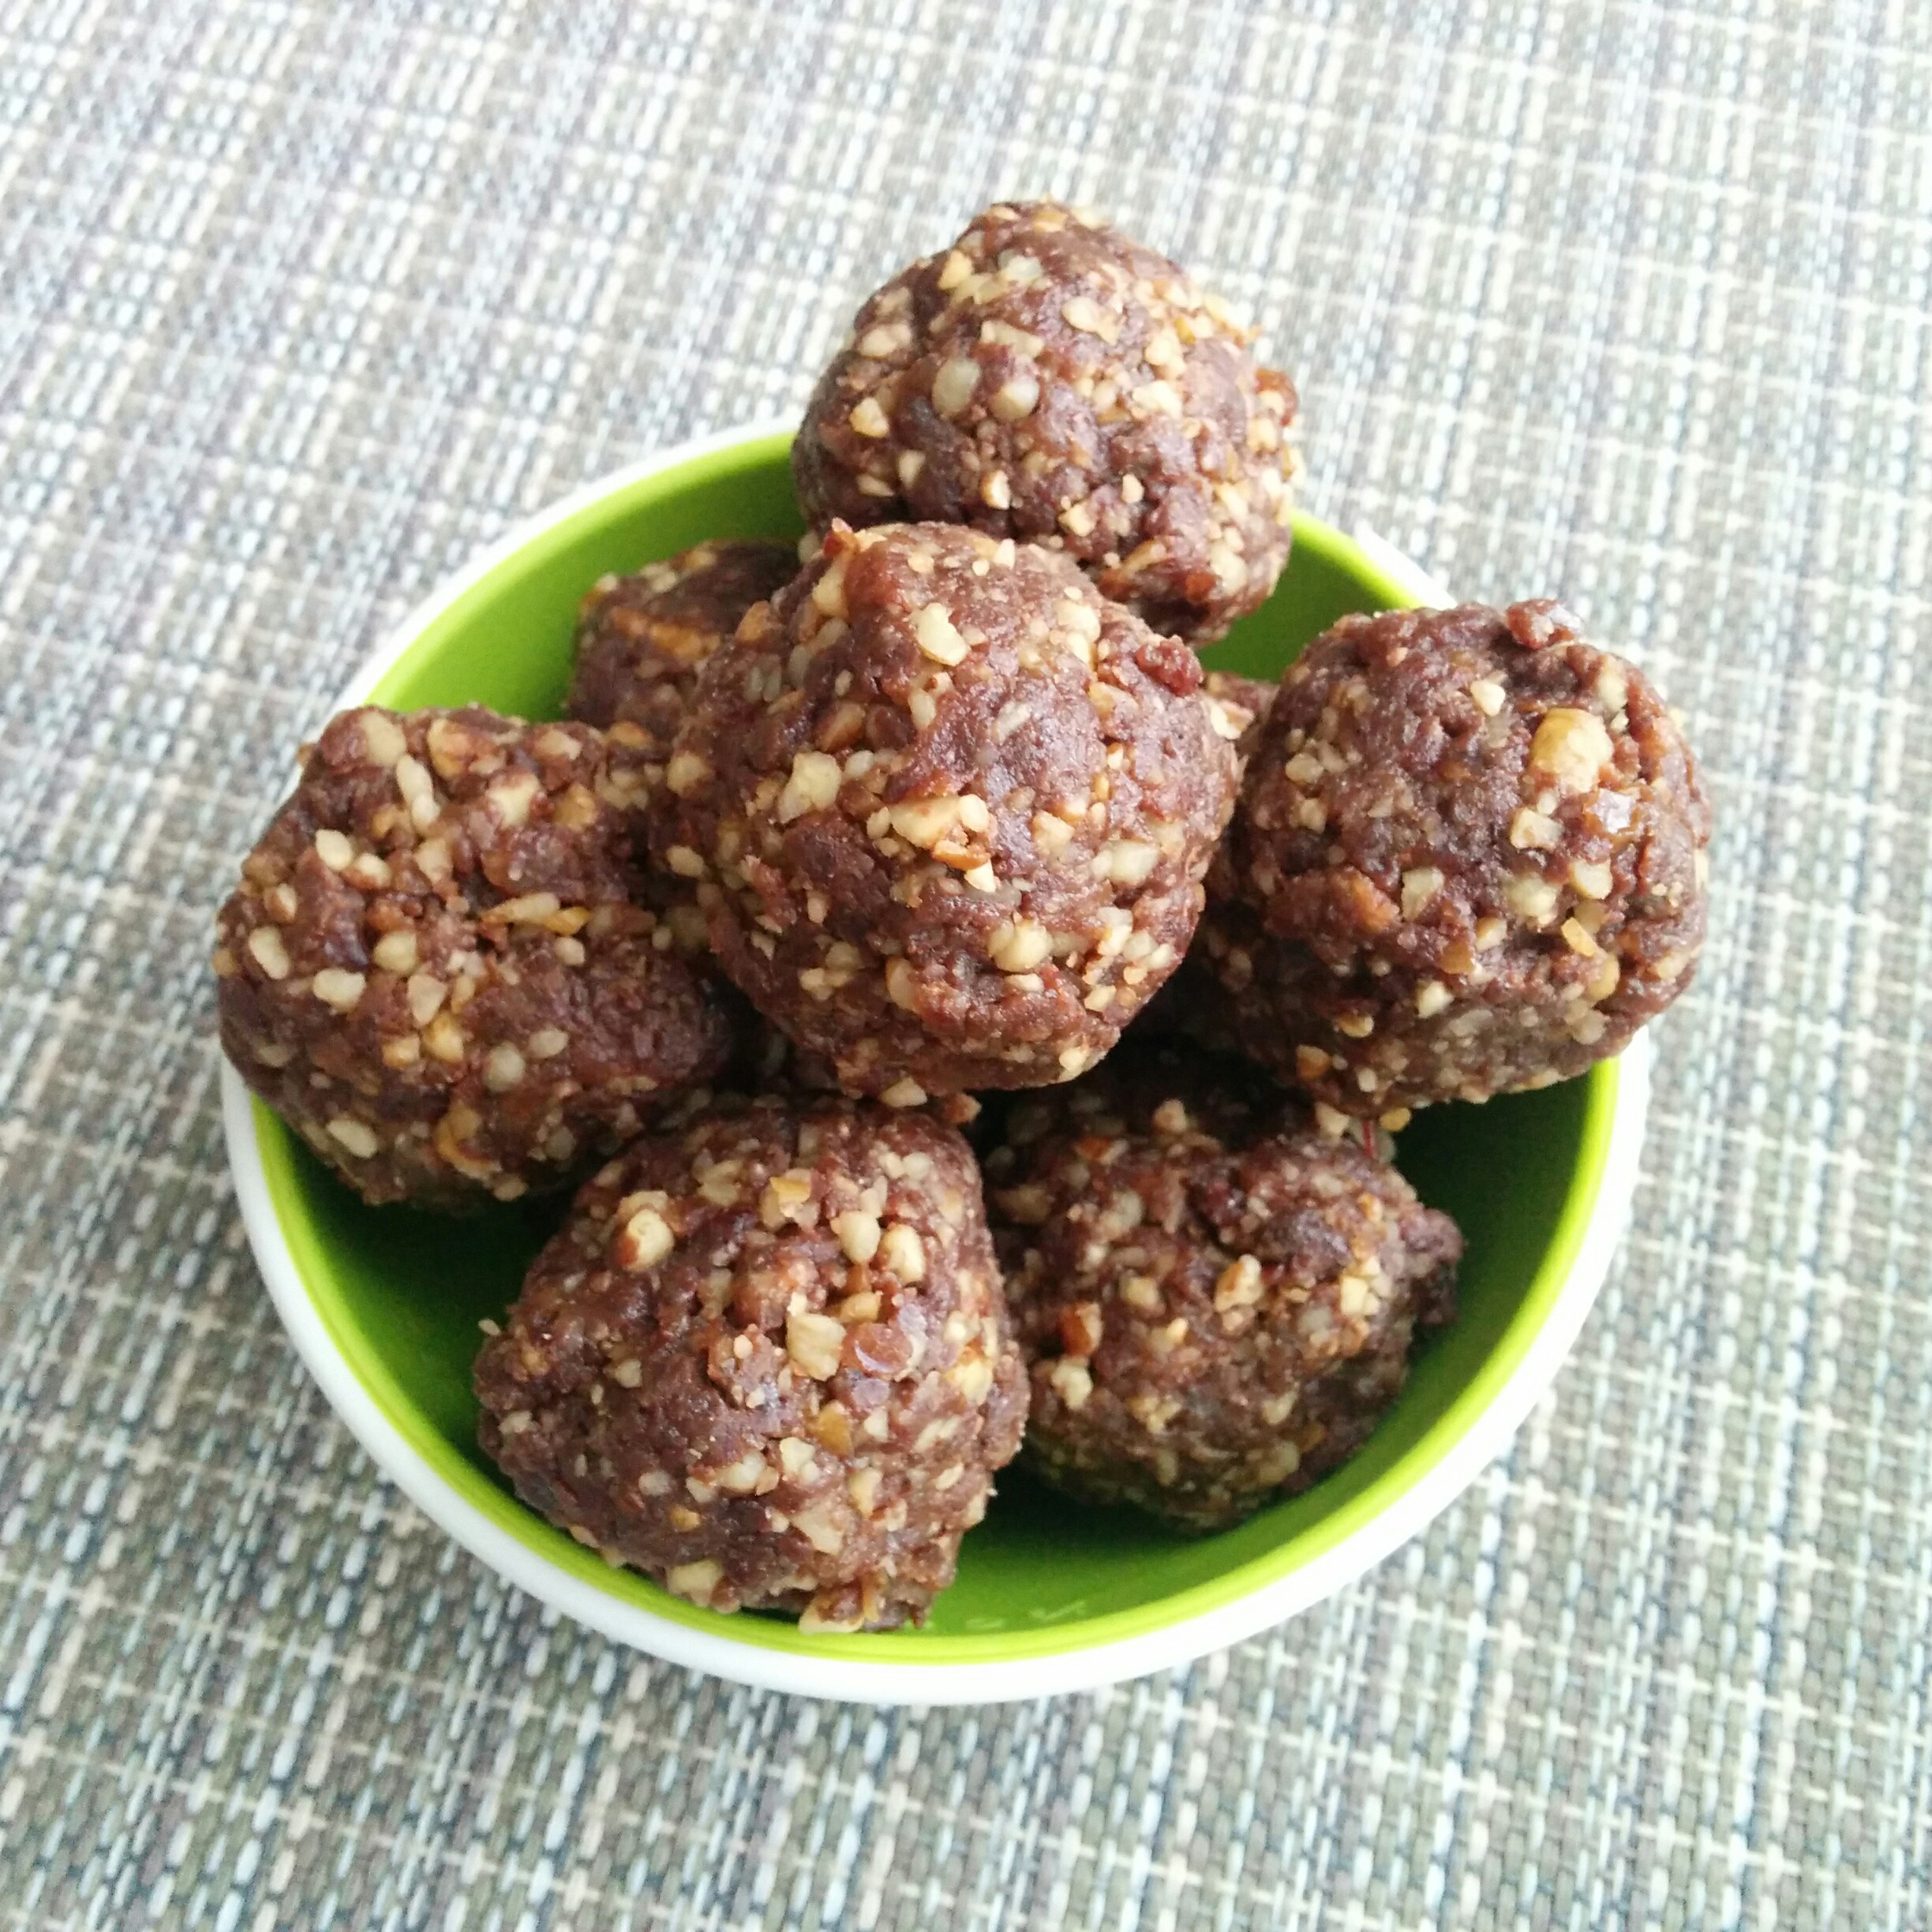
So I made the dark chocolate cherry energy bites from the Oh She Glow’s website. It was easy enough and it was only four ingredients! But I still found that I needed to have the motivation to buy the ingredients, set aside the time and make them. You also need a food processor (otherwise you will be chopping for a very long time – and the consistency won’t be quite right). I worked out the cost of making them and it works out to approximately $1/ball. (I roll them smaller so they are in small, easy to manage portions).
If I were to make them the same size as a typical energy bar it would work out to $1.50/ball. So not a huge savings (energy bars cost anywhere from $1.75 to $3) but you have the luxury of knowing exactly what’s in them. Plus if you are going through alot of these in a season, the savings can quickly add up. However, if you’re like me, who has a lot of hobbies and would rather be out (or to be honest, just relaxing) instead of buying ingredients to make you own sports snacks, buying a store bought energy bar might be more your style.
For me, I decided to leave it up to taste so I put the Oh She Glow’s energy balls against Larabars in a taste test (surprise, surprise). I’ve heard alot of great things about Larabars because not only are they available in a ton of flavours, but they consist of naturally ingredients and don’t use any preservatives. But at anywhere from $1.75 to $3/bar you are paying for convenience.
I had a group of taste testers try both the Oh She Glow’s energy bars and the Larabars and asked them which one they preferred.
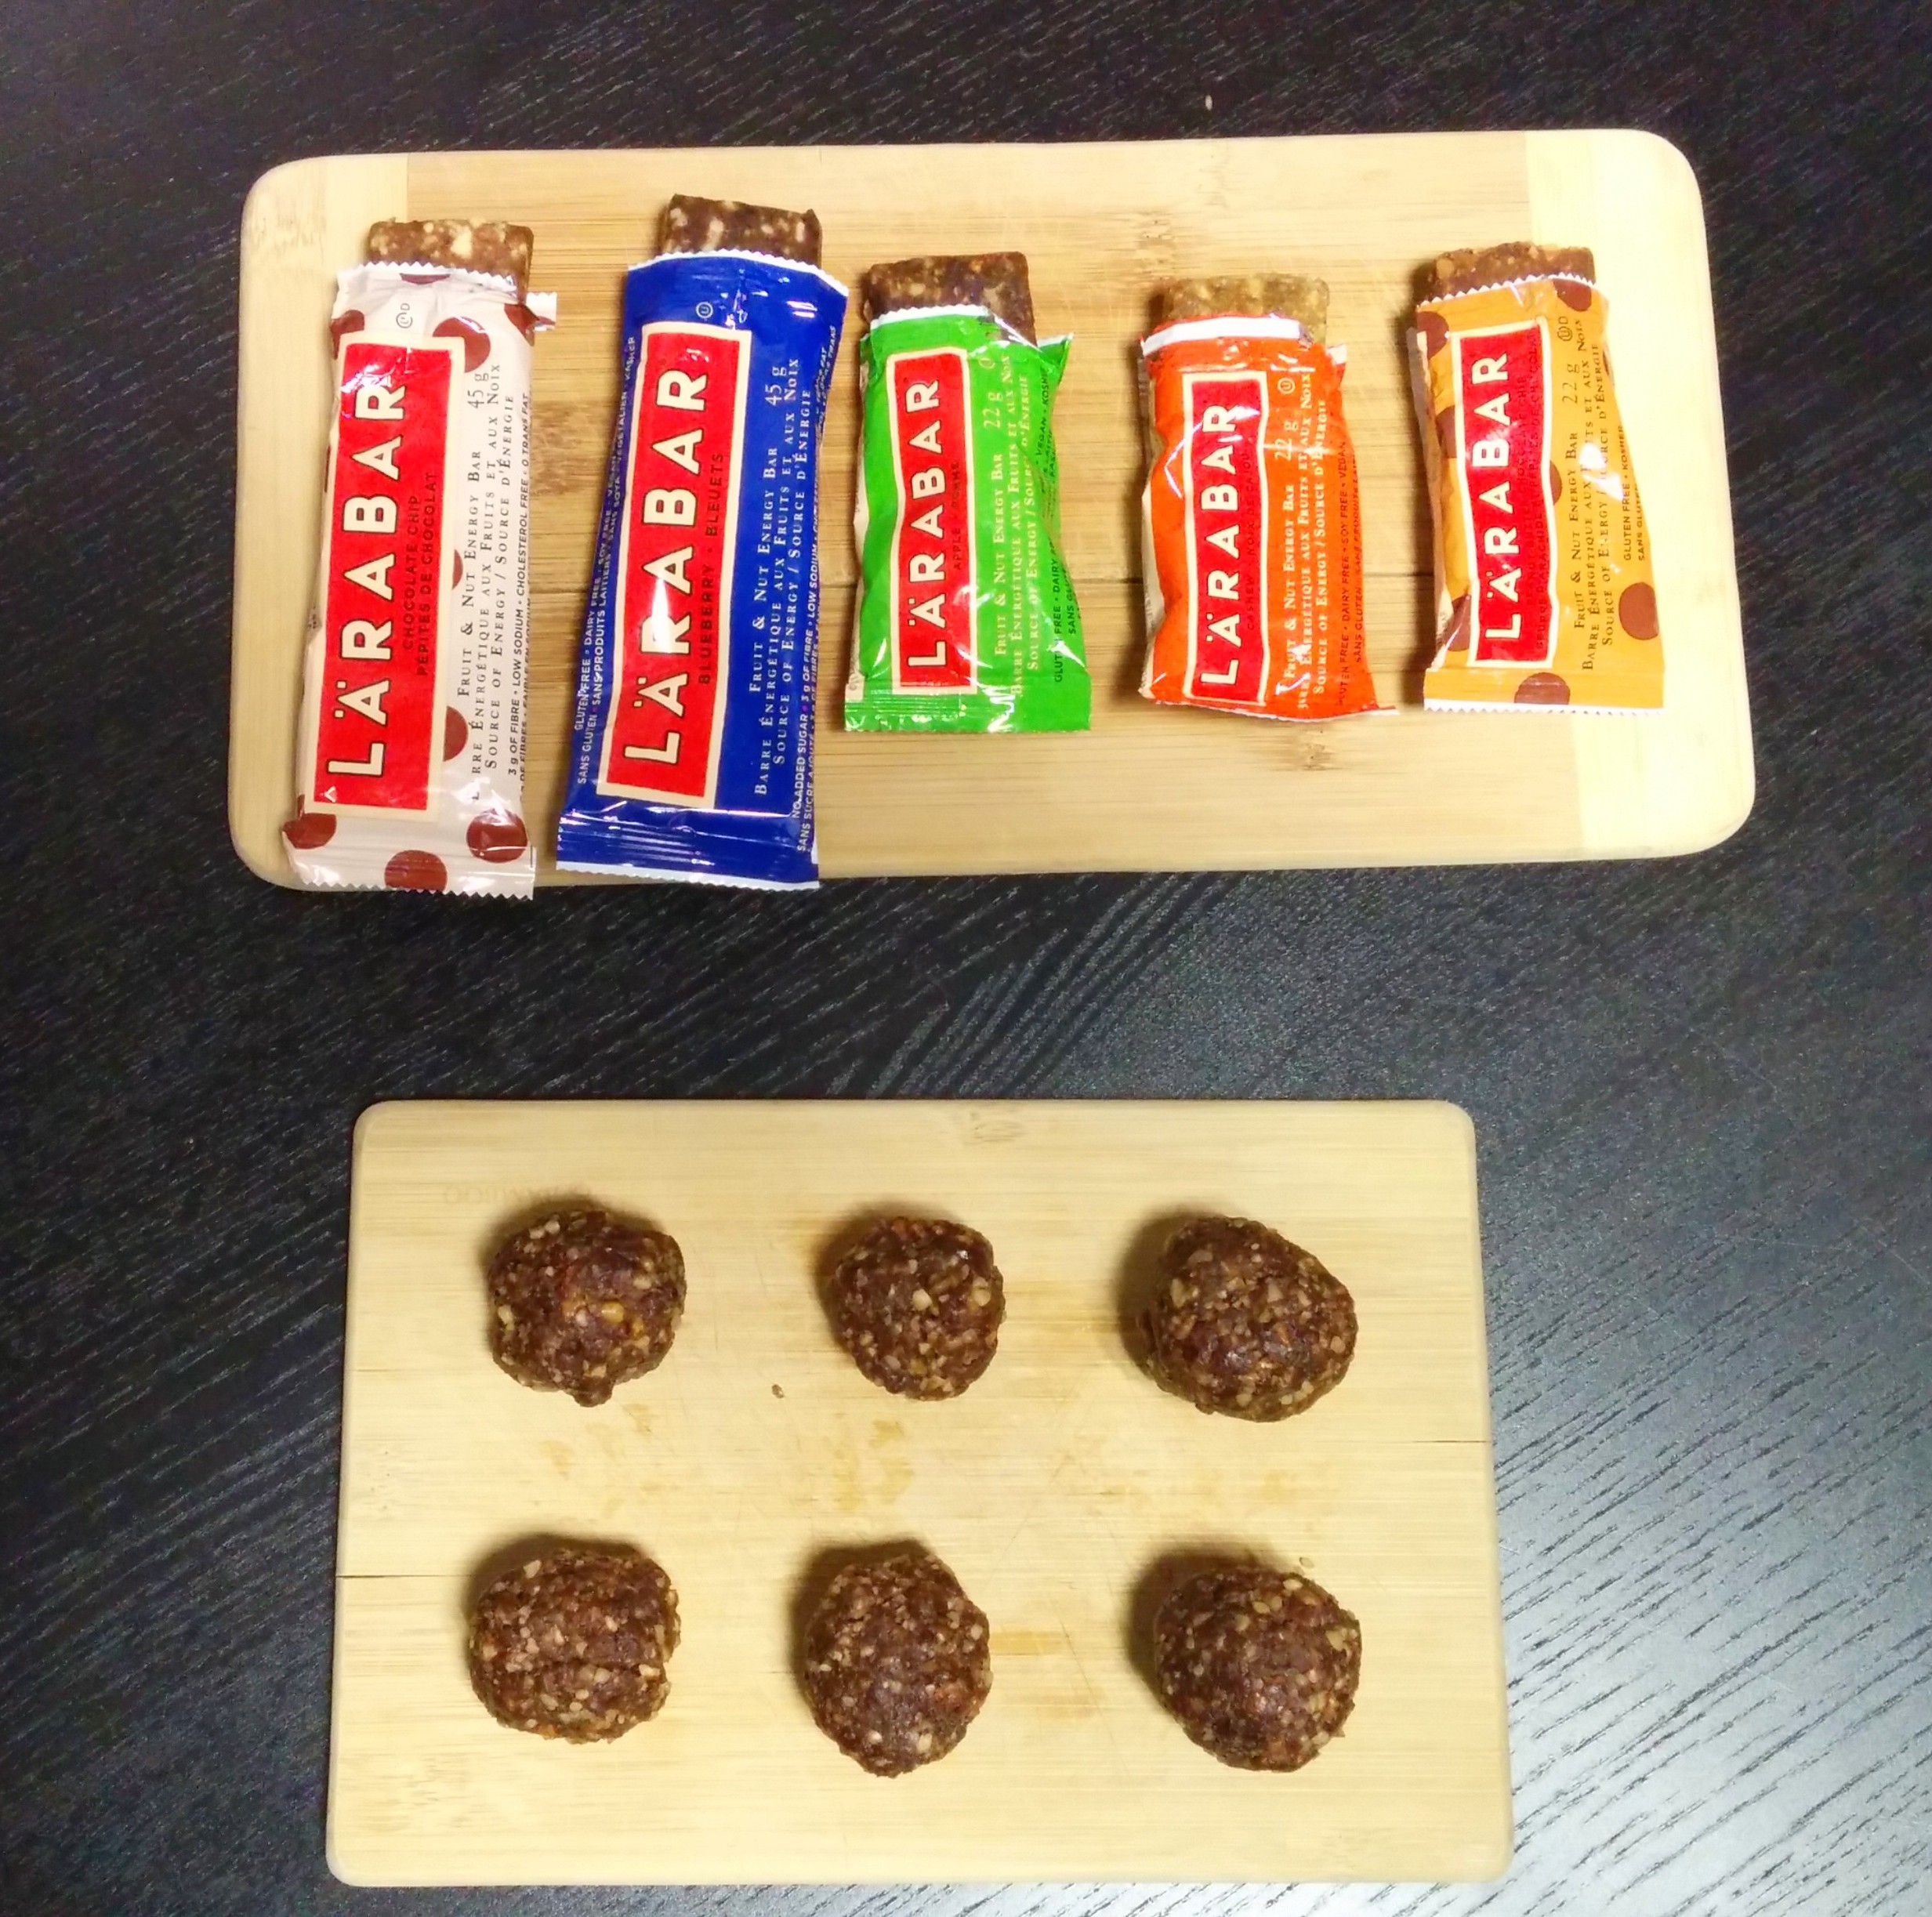
Everyone preferred the taste of the homemade energy bars citing that they could taste a slight chemically/protein powder after taste (despite the fact that Larabars doesn’t use protein powder or any artificial ingredients). I, however, couldn’t taste any difference and was totally fine with store bought Larabars. The cost savings is only 25% when you work out the math so unless you are going through vast quantities of energy bars, Larabars aren’t a bad way to go (you also get to have an assortment of flavours). But everyone is different.
Whether you decide to choose homemade or store bought, choose whatever helps fuel your workout and is something that works for you.
Dark Chocolate Cherry Energy Balls (makes 15 small bites)
Adapted from Oh She Glows
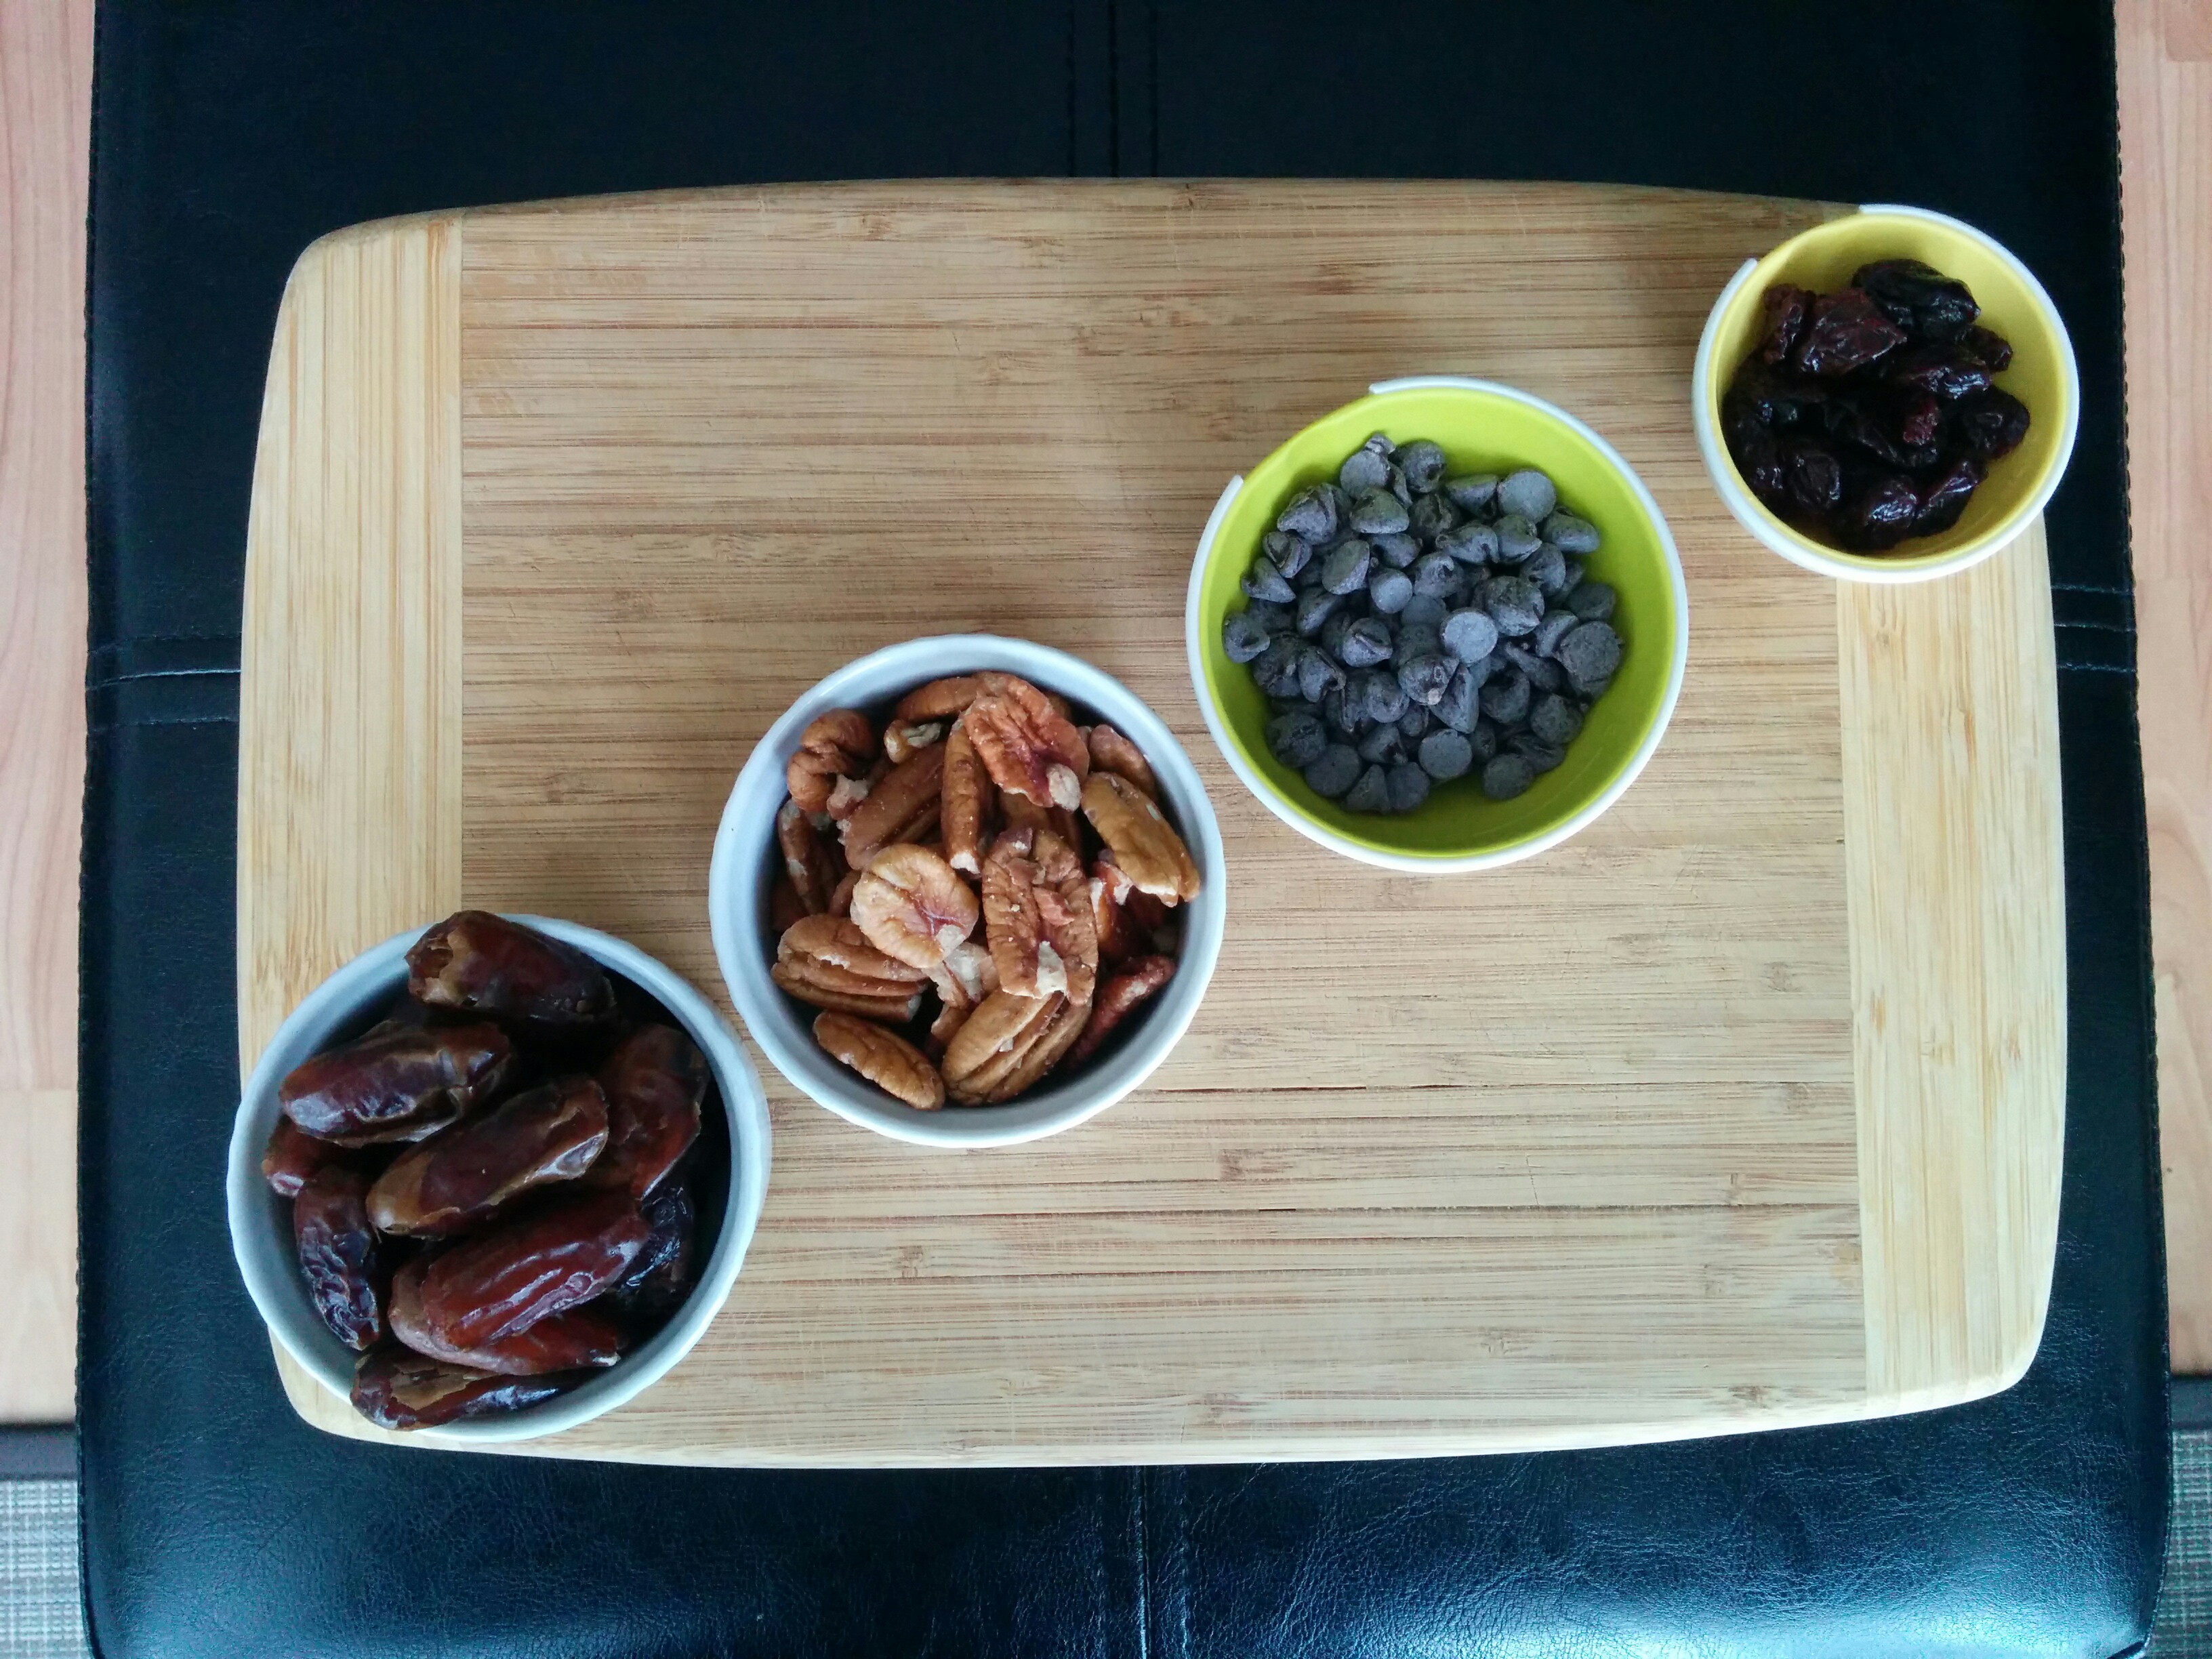
Ingredients:
1 1/4 cup unsalted pecans
120 grams pitted Medjool (not honey) dates (about 8)
1/2 cup dried sweetened cherries
3 tbsp dark or semi-sweet chocolate chips
pinch of Kosher or sea salt
Directions:
Place the pecans in a dry skillet and toast over medium heat until fragrant. Set aside and let cool.
Put the cooled pecans in a food processor and pulse them until they resemble course breadcrumbs. You still want there to be some texture.
Add the pitted dates, dried cherries and chocolate chips into the food processor and chop until the mixture starts to stick together and forms a ball.
Pinch off tablespoon amounts and roll into small balls (about the size of a golf ball). Place them in a freezer bag and store in the fridge or freezer until needed. They will keep for 6 to 12 months.