Here is the crepe recipe I used for the taste test:
Homemade crepes
Cost of ingredients: approximately $2.50
Ingredients:
4 large eggs
560 mL milk
225 g all purpose flour
7 g sugar
15 mL butter, melted
pinch of salt
Directions:
Whisk the eggs, milk, sugar and salt. Gradually add the flour.
Gradually stir in the butter. Should form a smooth, runny batter.
Let the batter rest for at least 15 minutes.
In a nonstick pan, heat a little oil over medium heat Pour the batter into the pan, swirling the pan to form a paper-thin pancake. Once the edges start to brown, turn and brown the other side.
There is a bit of technique required when making crepes. The hardest thing is pouring the batter into the pan on an angle while you tilt the pan so the batter covers the bottom in a thin, even coating. Easier said than done! This definitely takes practice but after a few times my crepes started to look better and better. Don’t be afraid to pour in small amounts of batter into the holes if you weren’t able to get the bottom of the pan completely covered. No one will be able to tell once you wrap everything up in the crepe.
But there is one thing you definitely need that will make your life a whole lot easier – a non-stick fry pan. This is a must!

I had a nifty little blender bottle which I always use when making crepes because it makes it easy for me to pour with one hand and rotate the pan with the other. I can easily adjust the amount and speed at which I pour as well.
But it turns out there is an even easier method demonstrated by Julia Child (Note: It’s at the 2:25 point in the video). If you ever want to see a realistic demonstration of what to expect, just turn to Julia. She has a great way of making things look simple, uncomplicated and even more important – realistic! Like turning the heat down when adding the batter to the pan, swirling it around to coat the bottom and then turning the heat up again. It’ll take a little longer but it offers you a lot more control.
Store bought crepes:

These crepes were hard to find! I had to go to four different grocery stores and at one point was thinking that I might have had to cancel the taste test because I couldn’t find them. I finally called up my local Loblaws store and found out they had them in stock. Thank goodness!
At that moment I was thinking “this is a good reason why it’s important to know how to make crepes from scratch”. There are times when certain items just won’t be available in grocery stores (i.e. gingerbread houses outside of Christmas, pumpkin pie outside of Thanksgiving). Cooking gives you total control over what you can have for dinner because there are times when the convenience version of that particular food item won’t be available making things very inconvenient – ironic isn’t it?
When I first saw the store bought crepes they were perfectly round and paper thin. I thought “There is no way I can make homemade crepes that thin with a non-stick fry pan (a professional crepe iron – maybe). This is going to be hard to beat! I mean, how many people are going to have a special crepe iron in their house? (probably the same number of people who have a waffle iron) So I was thinking, maybe it’s kinda like the buying store bought waffles – rather than having to buy special equipment, maybe you should just buy store bought. But, you can still technically make crepes without a crepe iron – they just won’t look as pretty. Waffles you can’t, you just have to make pancakes instead.


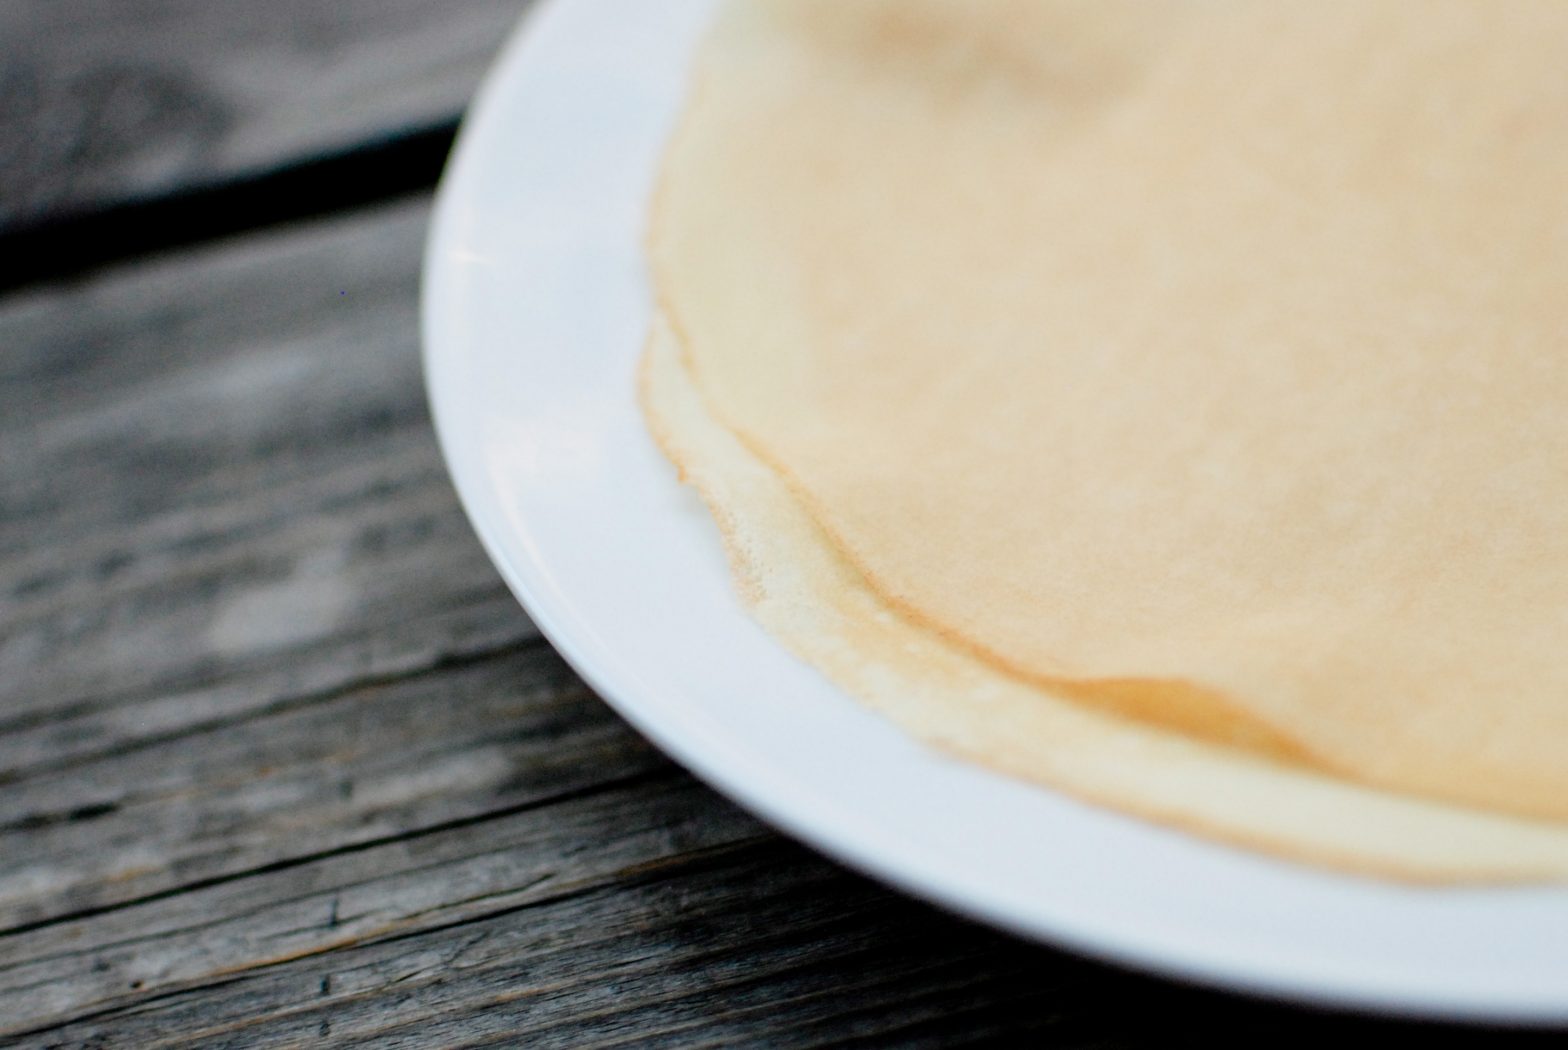
So I was thinking, maybe if you don’t mind having rustic looking crepes, homemade would be acceptable. At the taste test, I was shocked by the fact that the homemade version (with it’s rustic appearance) looked and tasted better than the store-bought crepes! Although the store bought crepes were uniform and paper thin, they looked overly pale and paper thin isn’t really what you’re looking for in a crepe. You’re looking for something that has got a good texture and bite to it that can act as a vessel for the fillings inside. The store bought crepes didn’t provide the texture and chewiness that the homemade crepes provided.

Having said that, the store bought crepes were sweeter and had a vanilla flavour to them. This would be a nice touch for sweet crepes like chocolate or fruit but would not be complimentary for a savoury crepe like ham, egg and cheese. This can easily be overcome by adding some sugar and vanilla extract to the homemade batter. Overall, the store-bought crepes are expensive and don’t beat homemade. Plus they can be hard to find. I had to visit four different grocery stores (and ended up calling my local Loblaws) before I found a store that had any in stock.
My advice:
Take out a non-stick fry pan and start making crepes. Practice makes perfect!